Getting started
This Chapter shows you how to integrate the PayCloud payment gateway from scratch in a fast way.
Step 1: Merchant Registration
First, contact your sales to apply for registration as a PayCloud merchant. You need to prepare relevant materials and contact information about the merchant and store in advance. Once the merchant application is successful, you can obtain the following information:
- Merchant Number: The unique identifier of the merchant's identity, which is required to be sent in all transaction requests
- Store Number: The store is the actual location where the merchant's in-store transactions occur, setting the visible scope of business data
- Terminal SN: The payment terminal belongs to a specific offline store, and the SN (Serial Number) is the unique identifier of the terminal.
- Login Account for Merchant Platform: By logging into the merchant platform using your account, you can manage payment applications and query transactions. For your merchant platform login account and login address, please contact your sales representative.
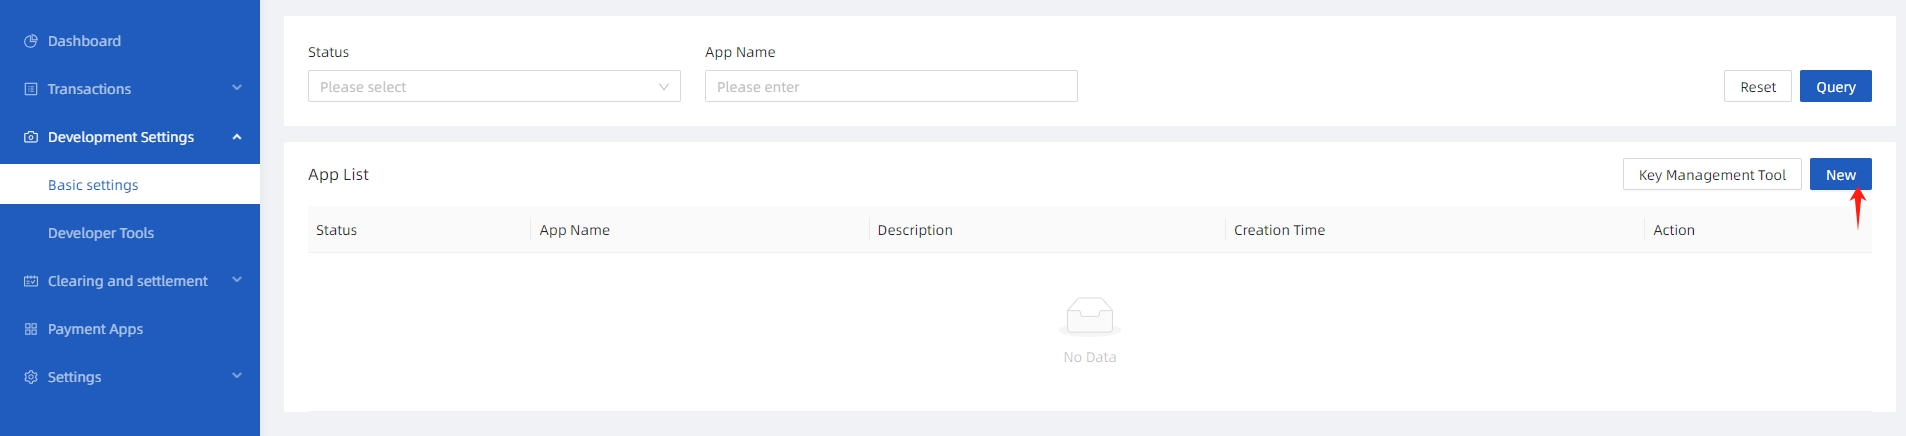
Step 2: Create a payment app
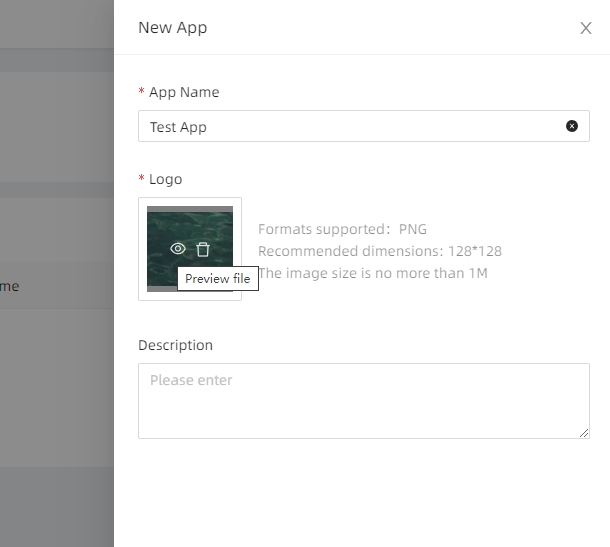
Log in to the merchant platform with your account obtained in the previous step, go to "Development Settings > Basic Settings", and create a new app to get the AppID of the app.
Step 3: Configure Application Keys
PayCloud gateway's security policy requires the use of RSA asymmetric encryption algorithms to sign data packets, ensuring the authenticity of both parties in the transaction and the integrity of the data, and preventing illegal tampering of data during communication.
- Regarding the RSA asymmetric encryption mechanism, developers of third-party applications are required to generate a set of key pairs (including public and private keys) with the PayCloud gateway, with both parties exchanging public keys, while the private keys are kept secure by themselves.
- Public Key Exchange: Developers can view the PayCloud gateway's public key (gateway_rsa_public_key) and upload the application public key (app_rsa_public_key) through the merchant platform.
- In communication, the initiator signs the request message using their private key, while the receiver verifies the signature using the other party's public key. Similarly, the response process works the same way. For information on how to generate keys and signatures, Please refer to the documents Key Settings and Signatures.
The specific interface operation process is as follows:
| 1. In the application list, select "Public Key" link in the new application row. | 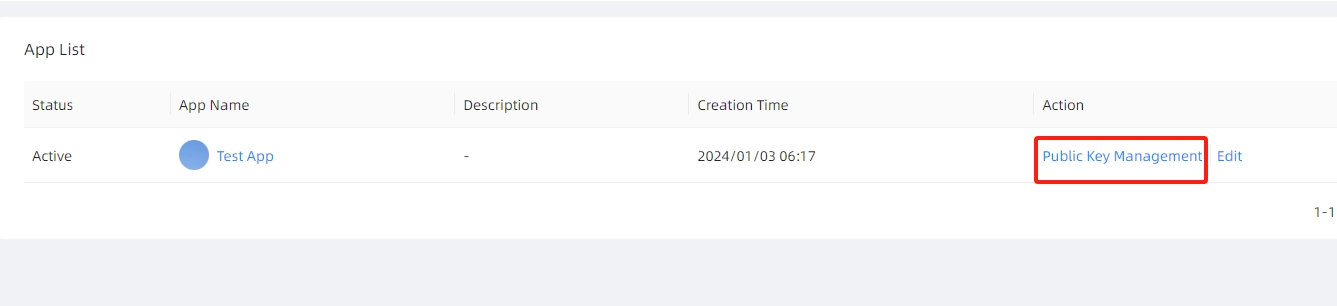 |
| 2. Enter the key configuration page, copy and paste the Public Key of the application, and click OK to save. | 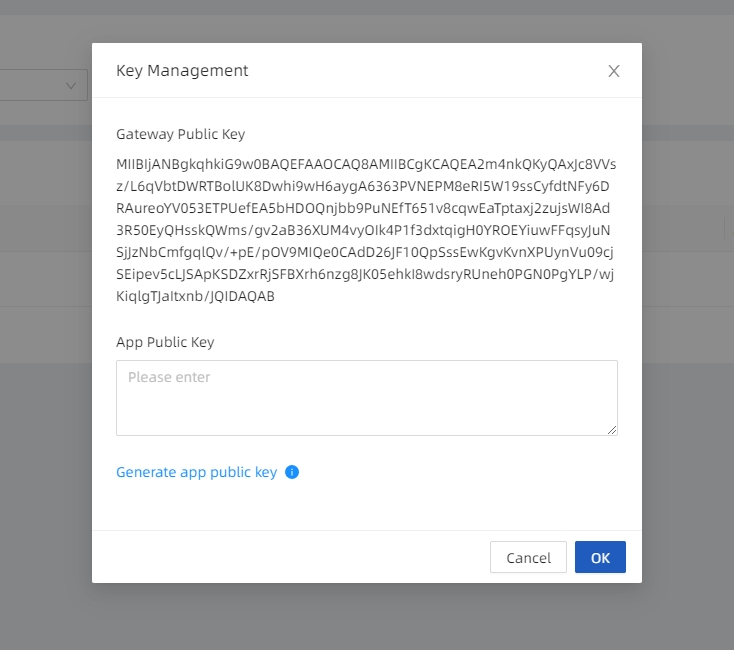 |
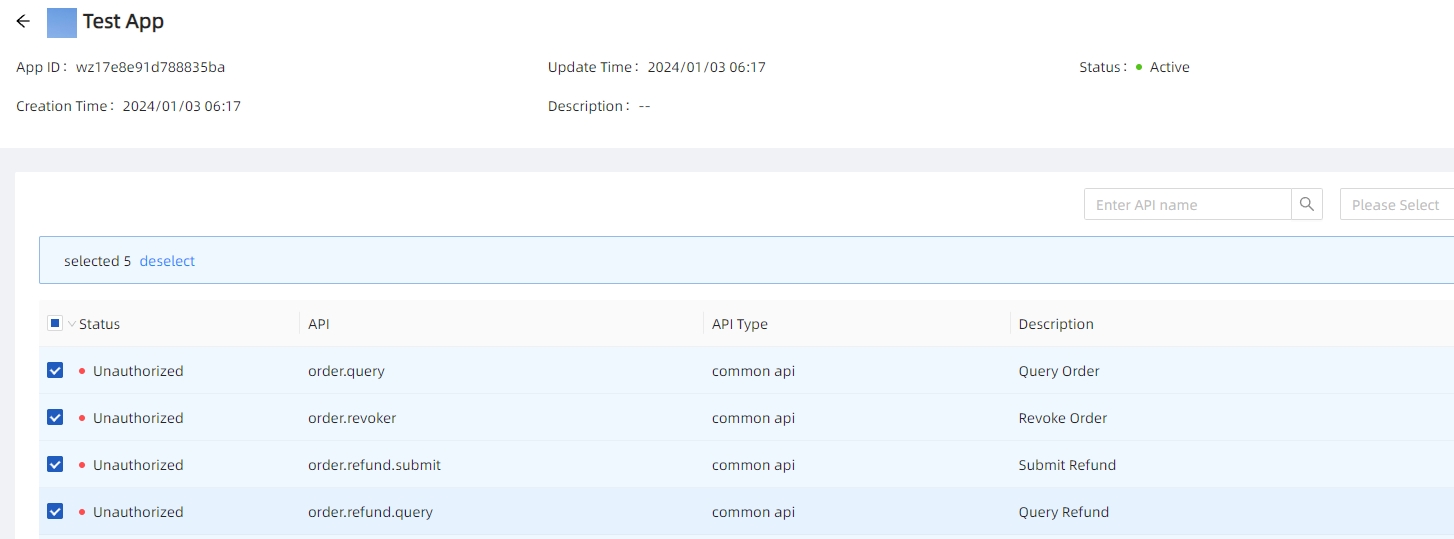
Step 4: API Authorization
- First, confirming the APIs your application need to use according to the payment integration scheme you choose. For details, refer to:
- Online payment
- Web Checkout payment
- In-Store payment
- In the application management page, select the corresponding API to apply for authorization
Step 5: Writing Code and Integrating Tests
Next, you can write application code according to the API documentation requirements and set parameters for debugging:
Furthermore, you can also choose to use the payment gateway SDK for quick integration (Download the SDK or example).
- This SDK currently supports only Java version, but we provide API calling examples for some languages (such as: PHP and C#)
- We also provide Postman debugging tools, key generation tools, and signature verification tools, which can be downloaded through GitHub.
We recommend that developers use the SDK integration method, as the SDK encapsulates the signature processing of API requests and the verification of API responses, which will simplify the work of system integration.
If you encounter any issues, please contact the technical support team and provide your order number (merchant_order_no) or the psn from the response message to help us quickly identify the cause of the problem.